


Rapid Tooling
Prototype and bridge tooling for your next manufacturing stage. Review the part design, material, sample requirements and production plan before committing to a tool.


How Rapid Tooling Works
Start with the part and production objective, develop a suitable tool, then evaluate trial parts before approving the next stage. Construction and acceptance are agreed for each project.

Design for Tooling
Review CAD, critical dimensions, draft, wall transitions and undercuts. Agree parting lines, gates and cosmetic faces before tool design.

CAD and drawing review
Critical dimensions
Draft and parting line
Tool Development
Select the tooling approach around the intended resin, quantity and design maturity. Review cavities, inserts, cooling and ejection before confirming the build scope.
Tool material selection
Cavities and inserts
Cooling and ejection
Sampling and Validation
Evaluate trial parts against the drawing and cosmetic requirements. Record adjustments and confirm sample approval before the planned production stage.
Trial parts
Review and adjustment
Inspection and approval
Rapid Tooling Project Requirements
These items define the review scope, not guaranteed process limits. Capabilities, acceptance criteria and timing are confirmed for each quotation. Scroll horizontally to read all conditions.
Review item | Project definition | What to confirm |
|---|---|---|
Part size | CAD envelope and tool layout | Review machine compatibility, cavity layout and handling before acceptance. |
Features and undercuts | Draft, cores and moving features | Identify fine details, threaded features and areas requiring side actions. |
Wall design | Material-specific review | Review transitions, ribs and bosses for filling, cooling and ejection. |
Dimensional acceptance | Drawing-specific requirements | Agree critical dimensions, datums and inspection methods. |
Tool construction | Material and cavity strategy | Consider intended resin, quantity, design maturity and maintenance. |
Surface requirements | Defined cosmetic faces | Specify finishes, gate marks, parting lines and ejector locations. |
Trial samples | Agreed sampling plan | Confirm sample quantity, material, inspection and approval steps. |
Tool life and ownership | Quotation-specific terms | Agree production, maintenance, storage, ownership and transfer conditions. |
Schedule | Project-specific milestones | Schedule design, manufacture, trials, revisions and delivery separately. |
Part Material and Tooling Selection
Start with the properties required of the finished part. These material families are discussion references, not a stock list or guaranteed grade availability. Confirm the exact resin, shrinkage, processing conditions and documentation before tool design.
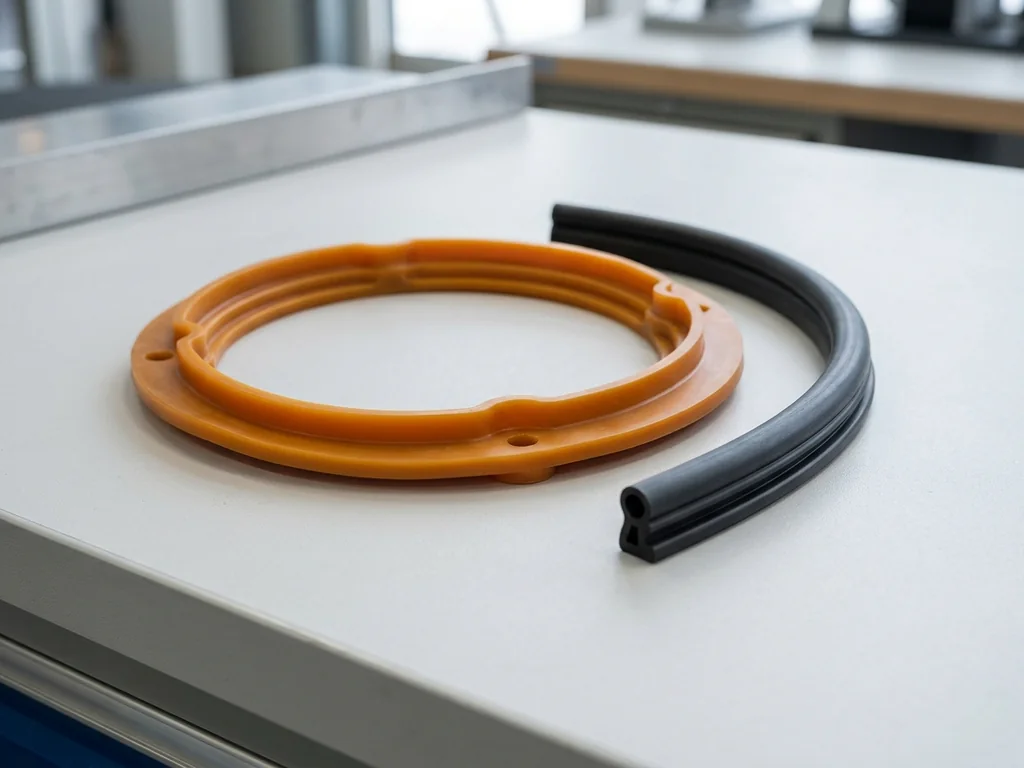
Flexible Materials

ABS Family
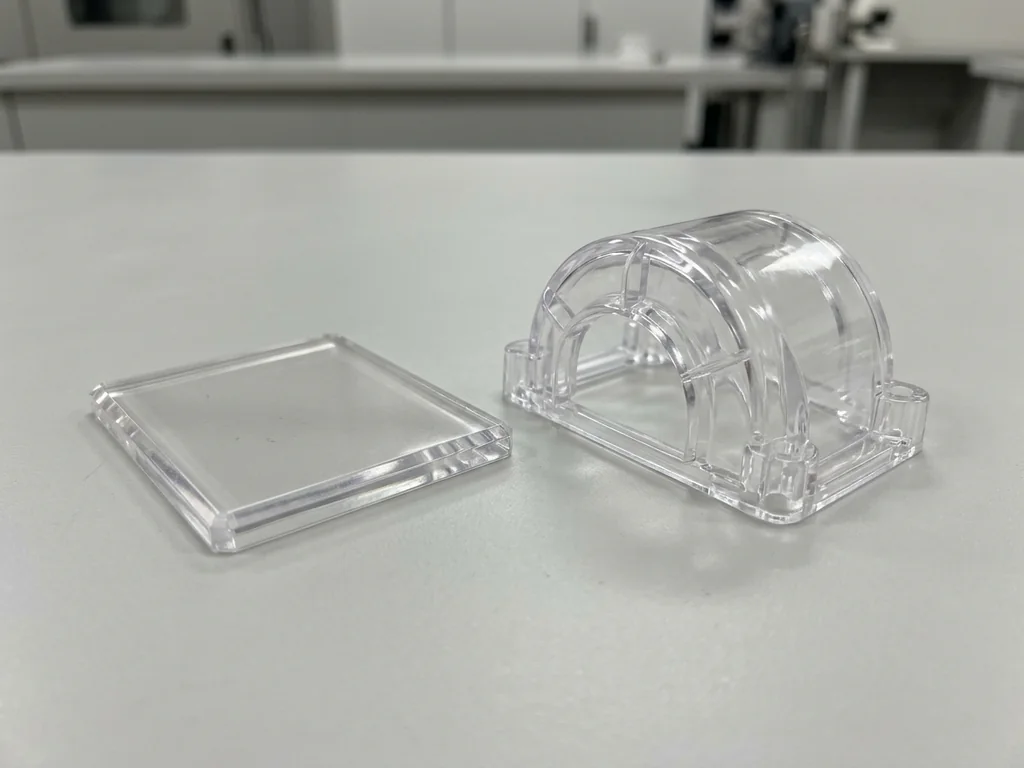
PC Family

PP / PE Families
Tool Surface and Part Appearance
Specify cosmetic faces, finish references and permissible gate, parting-line and ejector marks before the tool is built. A finish designation alone does not guarantee molded-part appearance. Confirm resin, texture, draft and acceptance samples together.

SPI A Finish Reference
SPI A Finish Reference
Discuss polished tooling surfaces using the required SPI grade and an agreed appearance reference. Resin and geometry affect the resulting part.
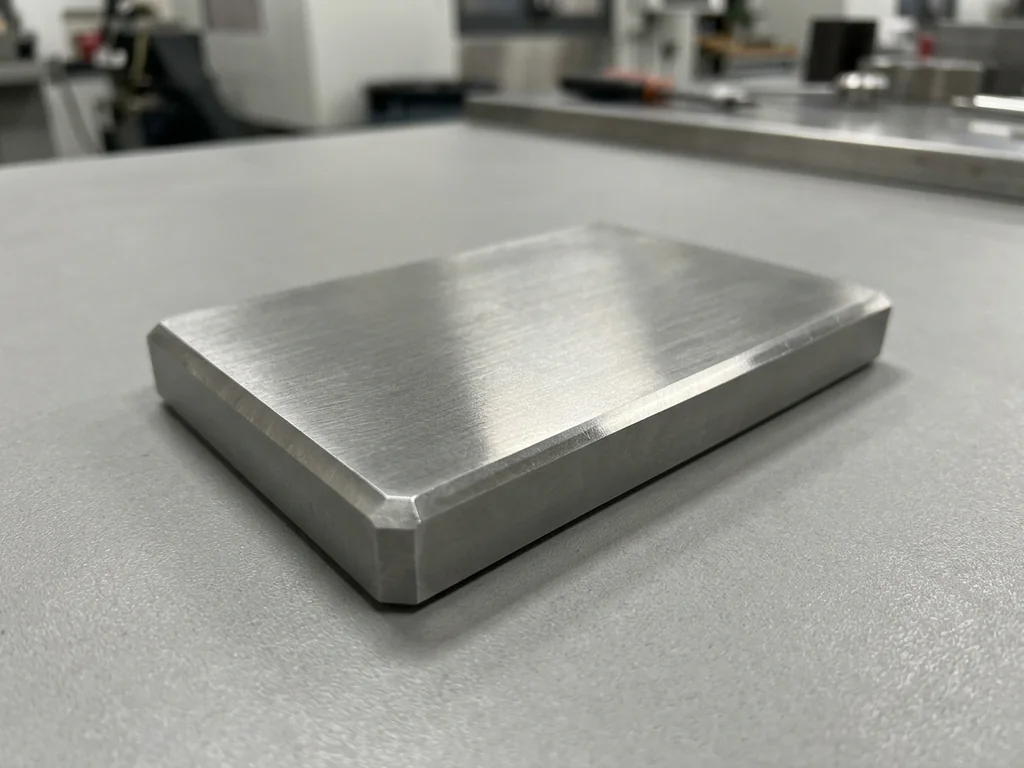
SPI B Finish Reference
SPI B Finish Reference
Identify the required SPI B grade and cosmetic areas. Agree sample acceptance rather than assuming a universal roughness value.

SPI C Finish Reference
SPI C Finish Reference
Review the specified SPI C surface with the part material, draft and intended appearance.

SPI D Finish Reference
SPI D Finish Reference
Define the required SPI D grade and texture location. Evaluate release requirements and accept appearance against an agreed sample.

Texture Reference
Texture Reference
Provide a texture standard or physical reference. Confirm tool feasibility, draft requirements and appearance on the selected resin.

Color and Part Finish
Color and Part Finish
Agree resin color and secondary finishing separately. Color references and acceptance samples belong in the project specification.





Industry slide guide: 1: Automotive; 2: Medical & Healthcare; 3: Electronics & Consumer; 4: Aerospace; 5: Industrial Equipment; 6: Other Prototypes.
Rapid Tooling for Automotive
Review trim, enclosure and assembly-development parts against defined fit, appearance and service requirements. Material suitability and production qualification require project-specific confirmation.
View MoreRapid Tooling for Medical & Healthcare
Discuss tools for non-clinical equipment housings and development samples. Patient-contact, biocompatibility and regulated applications require separate evidence and approval.
View MoreRapid Tooling for Electronics & Consumer Products
Plan enclosure and control-part trials around mating features, cosmetic faces and the intended resin. Heat and flame-retardance requirements must be specified and verified.
View MoreRapid Tooling for Aerospace
Non-flight mockups and development housings can support assembly reviews. Flight-use qualification and material compliance require separate evidence and approval.
View MoreRapid Tooling for Industrial Equipment
Review covers, controls and equipment components against load, temperature and assembly requirements before selecting tooling and material.
View MoreRapid Tooling for Other Prototypes
Define the development question, material, quantity and acceptance criteria, then compare the tooling approach with other manufacturing routes.
View MoreFrequently asked questions
Plan the tool around the design, material, quantity and approval process. Technical commitments and commercial terms are project-specific.
What accuracy can rapid tooling achieve?

Accuracy depends on construction, part geometry, resin shrinkage and process control. Provide drawings and critical dimensions so achievable tolerances and inspection methods can be reviewed and agreed. No universal tolerance is promised.
What determines tooling cost?
Tool size, complexity, cavities, material, moving features, finish and sampling influence cost. Compare the complete tool and part-production scope, including revisions, rather than tool price alone.
What should I provide for a tooling quotation?
Share 3D CAD, available 2D drawings, intended resin, quantities, critical dimensions, cosmetic faces and desired schedule. Describe intended use and validation needs. We can sign an NDA upon request.
How are inspection reports agreed?
Agree critical dimensions, cosmetic criteria, sample quantity and reports before sampling. Include full inspection, material documentation and additional validation requirements in the quotation.
How is the production schedule agreed?
Confirm milestones for design, manufacture, trials, adjustments and delivery. Design changes, material availability and sample approval affect timing. The schedule is agreed after project review.